Automation rules allow you to customize and streamline your order fulfillment experience by automatically applying specific actions when orders are imported into your Jetpack dashboard. Whether you need to add promotional items to qualifying orders, request delivery signatures for high-value shipments, or route orders to specific fulfillment centers, automation rules help you process orders efficiently without manual intervention.
Understanding Automation Rules
Every automation rule consists of two mandatory components and one optional component:| Component | Description |
|---|---|
| Trigger | Specifies when the rule will apply or when the action should occur. In Jetpack, the trigger is always the order import. |
| Action | Specifies the final outcome (e.g., add a gift card to every order). |
| Conditions (Optional) | Specifies any restrictions or limitations applied to the rule. Up to 25 conditions can be combined, but only “and” logic is supported—no “or” statements. |
- Trigger: Order imported
- Action: Add a gift card to order
- Condition: Order contains more than 5 items
Supported Actions
The Jetpack dashboard supports five automation rule actions:| Action | What It Does |
|---|---|
| Add X product to orders | Automatically inserts a specified product into orders that meet your conditions |
| Ignore orders | Prevents specific orders from being processed for fulfillment |
| Request signature at delivery | Requires a signature upon delivery for qualifying orders |
| Exclude gift messages from orders | Removes gift messages from specific orders |
| Set the fulfillment center assignment | Routes orders to a designated fulfillment center |
Supported Conditions
Conditions allow you to define restrictions that must be met before an action is applied. The conditions available vary depending on your ecommerce platform. The Jetpack dashboard supports eight conditions:| Condition | Description | Supported Platforms |
|---|---|---|
| Order Total in Dollars | Total amount paid (including tax and additional charges) | BigCommerce, Developer API, eBay, ShipStation, Shopify, Squarespace, WooCommerce, NetSuite |
| Tags | Matches a specific tag on the order | Developer API, eBay, ShipStation, Shopify, WooCommerce, NetSuite, Squarespace (must match verbatim) |
| Notes | Matches specific order note text | ShipStation only |
| MarketPlace Source | Specific to ShipStation rules | eBay |
| Total Item Quantity | Total items or bundles per order | BigCommerce, eBay, ShipStation, Shopify, Squarespace, WooCommerce, NetSuite Note: For bundles, this applies to count of bundles |
| Shipping Method | Shipping method text as shown in the store | Developer API, eBay, Shopify, Squarespace |
| Customer Order Count | Total number of orders per customer per store | ShipStation only |
| Shipping Country Code | Two-letter country code (e.g., US) | Amazon, BigCommerce, Developer API, eBay, ShipStation, Shopify, Squarespace, WooCommerce, NetSuite |
Rules outside of the supported actions and conditions listed above cannot be created in Jetpack. If your desired rule isn’t supported, you can explore ecommerce platform apps such as Shopify Flow, Auto Tags Order + Customer, and Shopify Circle Order Tagger - Auto Tags.
Important Guidelines for Creating Automation Rules
Follow these guidelines to ensure your automation rules work effectively: Double Negatives: Avoid using double negative conditions (e.g., “if the order doesn’t contain tag X”) to prevent confusion. Order Creation Methods: Automation rules are applied only to orders imported via ecommerce integrations, not when orders are created manually or through bulk Excel uploads. Platform Scope: If you have multiple stores on the same ecommerce platform, the same rules apply across all stores. Specificity: Rules cannot be created for specific items in the cart (e.g., “add product X if the order contains product Y”). Use the Tags condition for such cases instead. Testing: After a rule is created, enable Automatic Processing Pause and test the rule with a sample order. If the rule isn’t working as expected, disable it and contact Jetpack Care. Rule Hierarchy: There is no hierarchy between multiple rules. If conditions are met, the corresponding action will be executed.Accessing and Managing Automation Rules
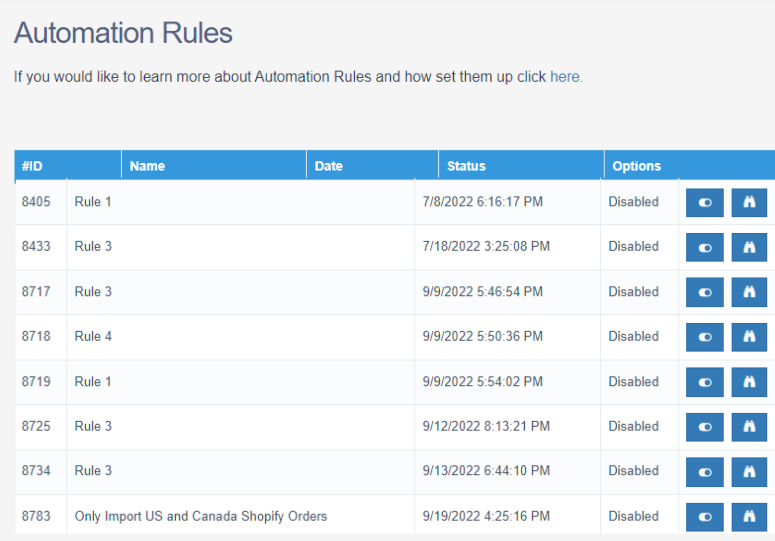
Follow these steps to view and manage your automation rules: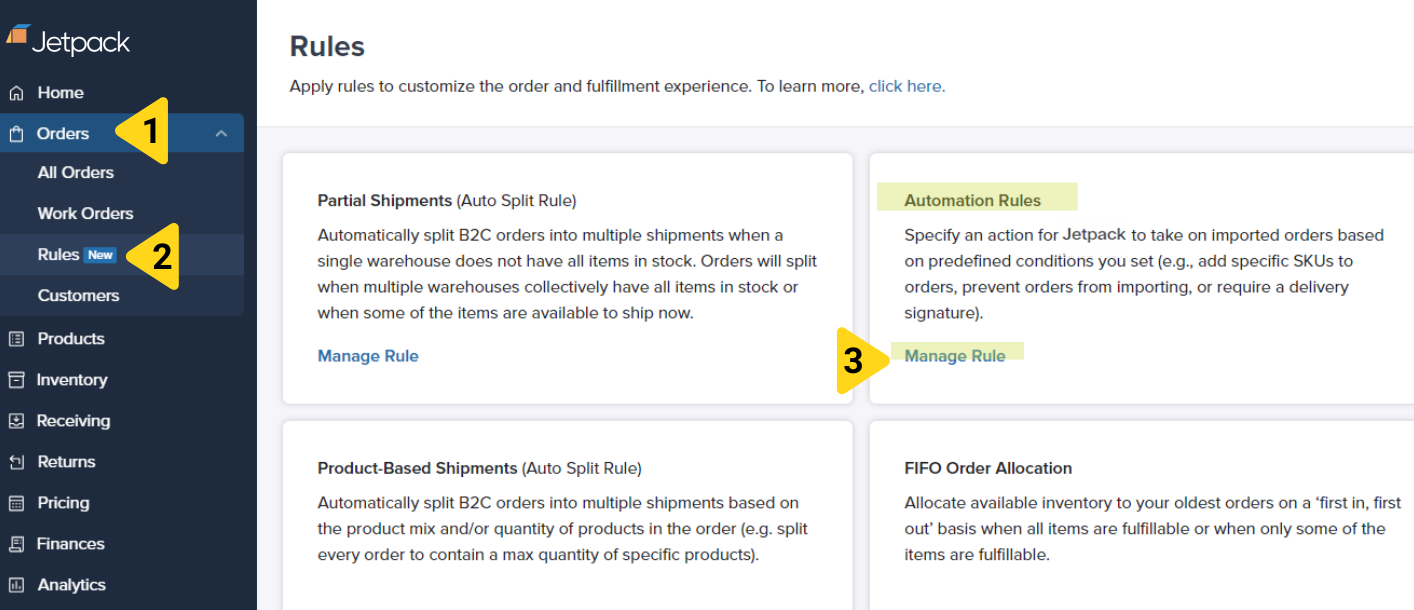
Let’s Dive Deeper
Automation Workflows
Back to the rules and automation overview
Destination-Based Fulfillment Rules
Route orders based on shipping destination
Order Auto Split Rules
Automatically split orders across fulfillment centers
FIFO Order Allocation
First-in, first-out inventory allocation
Multi-Box Package Selection Rule
Control multi-box packaging behavior
Back to Main Guide
Return to automation workflows overview

If you have any questions about automation rules or need to create a custom rule, contact Jetpack Care for assistance. Our team is available via Slack, phone, or email!