Creating WROs with dozens or hundreds of products can be time-consuming when adding items one by one. Jetpack’s bulk product upload feature lets you use a CSV template to quickly add multiple products, quantities, and lot information to your WROs.
When to Use Bulk Upload
Bulk upload is ideal for:Large Product Lists: WROs with many different SKUs
Complex Lot Management: Products with varying lot numbers and expiration dates
Regular Shipments: Recurring inventory patterns you can template
Time Efficiency: Reducing manual data entry for extensive catalogs
The bulk upload template supports up to 100 products per WRO. For larger shipments, create multiple WROs (e.g., products 1-100, 101-200, etc.).
Bulk Upload Process
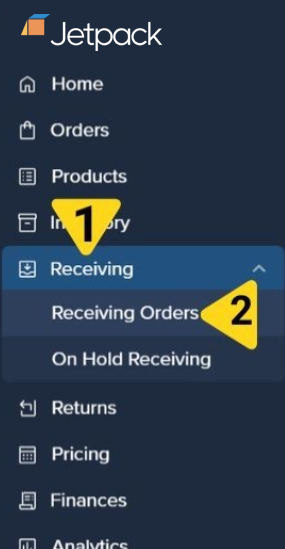
Click Send Inventory
On the WRO creation page, select your destination fulfillment center from the dropdown, optionally add your PO number, then click Save & Continue to proceed to Step 2 of the WRO process.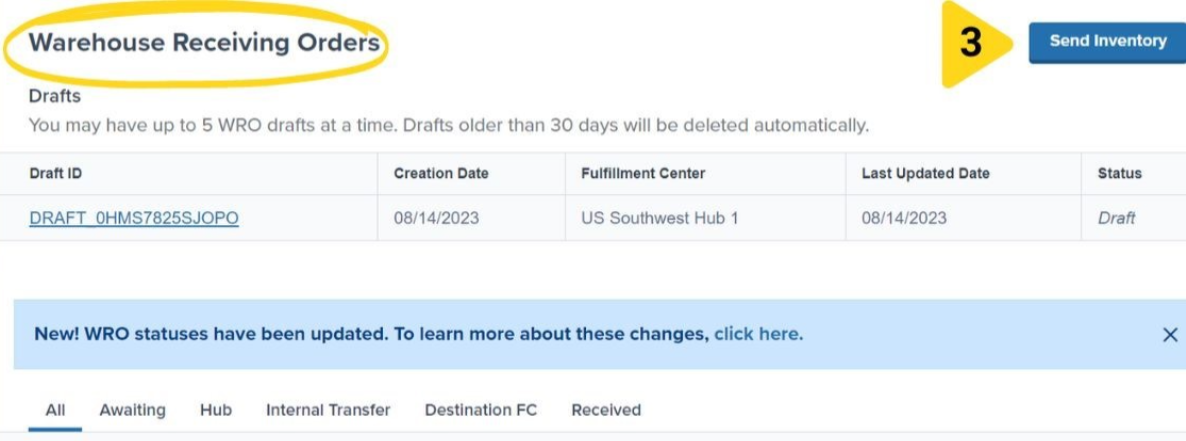
Access Bulk Import
Instead of searching for products individually, click the Import button located at the far right of the search bar.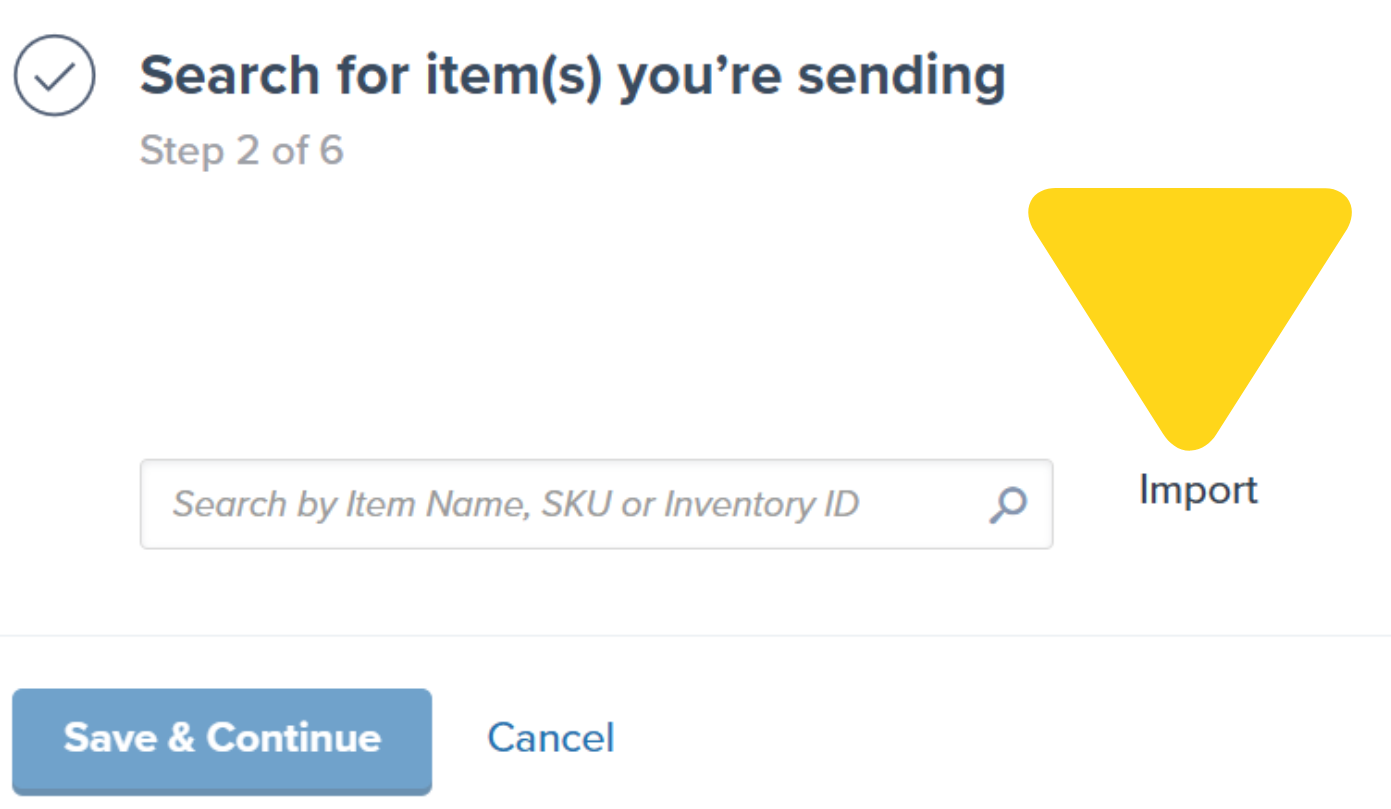
Download the CSV Template
In the bulk import popup, click the hyperlinked text “Download a CSV template with your inventory to upload”. A
.csv file will automatically download to your computer containing your active and non-digital products.Understand the Template Structure

| Column | Description | Editable |
|---|---|---|
| InventoryID | Internal Jetpack product identifier | ❌ No |
| SKU | Your product SKU | ❌ No |
| ItemNames | Product display names | ❌ No |
| QuantityToSend | Units to include in WRO | ✅ Yes |
| LotNumber | Product lot identifier (if applicable) | ✅ Yes |
| ExpirationDate | Product expiration (MM/DD/YYYY) | ✅ Yes |
Edit the Template
Edit your downloaded CSV template to match the products and quantities in your shipment:
| Task | Instructions |
|---|---|
| Remove Unwanted Products |
|
| Add Quantities |
|
| Lot Information (When Applicable) |
|
| Best Practices for CSV Editing |
|
Upload the CSV
Return to the WRO creation page in your Jetpack dashboard. On the import popup, either drag and drop your edited CSV file onto the upload area, or click the browse button to select the file from your computer.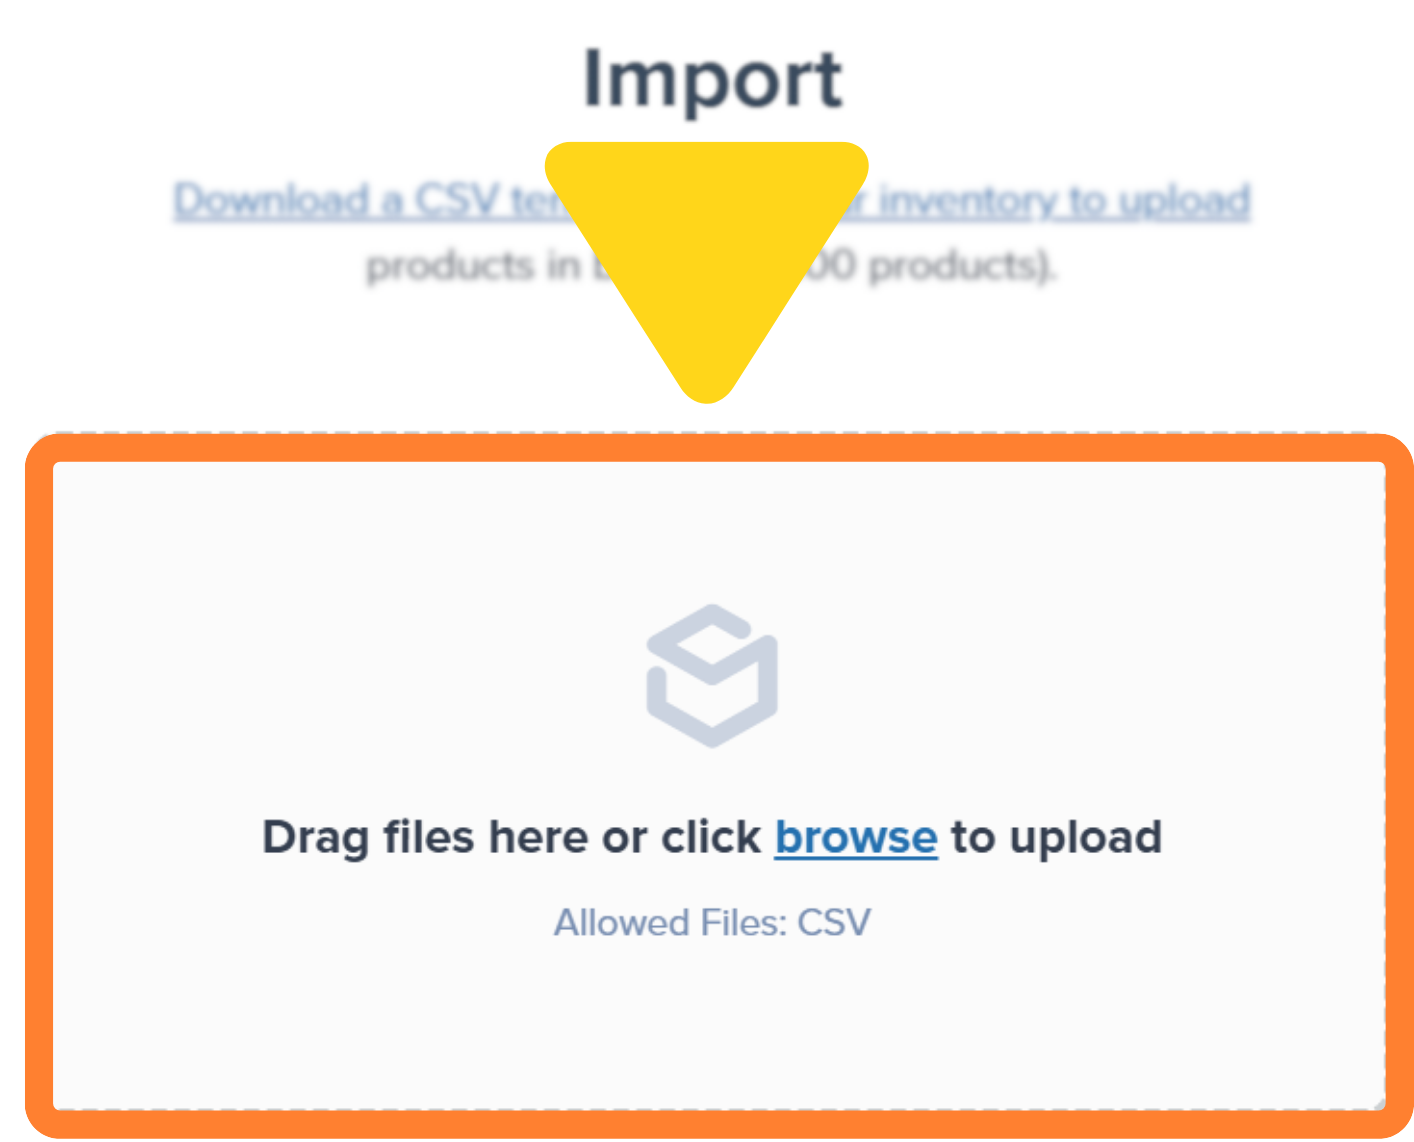
Validation Process
Jetpack automatically validates your CSV and displays results:
| Validation Check | What Happens |
|---|---|
| Automated Validation |
|
| Successful Validation |
|
| Validation Errors |
|
Troubleshooting Common CSV Errors
When validation errors occur, they will be displayed in the import window. Click the View All hyperlink within the error message to see a detailed list of issues. Common validation errors and how to resolve them:| Error Type | Problem | Solution |
|---|---|---|
| Column Name Issues | Column headers don’t match expected values | Ensure exact spelling and capitalization:
|
| Data Modification Errors | Pre-populated data has been changed | Revert InventoryID, SKU, and ItemNames to exactly match your Product Catalog |
| Row Limit Exceeded | File contains more than 100 products | Split products across multiple WROs and CSV files |
| Date Format Issues | Expiration dates in wrong format | Use MM/DD/YYYY format exclusively (e.g., 03/15/2025) |
| Missing Quantities | Empty QuantityToSend values | Enter quantities for all products or delete rows for products not being sent |
Advanced Troubleshooting
Advanced Troubleshooting
File Won’t Upload: Ensure file is saved as
.csv format, not Excel .xlsxSpecial Characters: Remove any special characters, extra spaces, or non-standard formattingEncoding Issues: Save CSV with UTF-8 encoding if international characters are causing problemsLarge File Size: Even with under 100 products, very long product names might cause file size issuesContinuing the WRO Process
Review Imported Data
After successful CSV upload, verify that all intended products are loaded with correct quantities and lot information before proceeding.
Complete WRO Creation
Continue through the remaining WRO creation steps, including box configuration, shipping details, and final review before submission.
You can still modify product information after CSV upload but before submitting the WRO. Use the standard WRO editing interface for any last-minute changes.
Support and Additional Help
If you encounter persistent CSV formatting errors, capture a screenshot of the error message and contact Jetpack Care via the chat feature in your dashboard. Include your WRO ID, CSV file, and error details. For immediate needs, consider using manual product entry as an alternative.Let’s Dive Deeper
Sending Inventory Overview
Back to the main guide on our receiving process and how to send inventory
Creating a WRO
Learn the complete WRO creation process to send your inventory
Managing Your WROs
Track and monitor your WROs with real-time status updates
Editing a WRO
Update WRO details after creation before shipment arrives
Unidentified Shipments (UROs)
Resolve shipments that don’t match WROs to avoid processing delays
Avoid Common WRO Mistakes
Prevent the seven most common WRO errors that cause delays

Questions? Contact Jetpack Care.
If you have any questions or run into issues, you can always contact Jetpack Care for help. Our team is always here to assist via Slack, phone, or email!