For US merchants, Jetpack streamlines the Amazon FBA prep process through an automated order workflow. Create FBA shipments directly in the Jetpack dashboard, select your destination Amazon fulfillment center, and choose your preferred shipping label option—all in a few clicks. Once packed, your shipment automatically syncs with Amazon Seller Central for seamless tracking.
You cannot currently create automated FBA orders using the Jetpack Developer API. All automated FBA shipments must be created through the Jetpack dashboard.
Creating an Automated FBA Shipment
Follow these steps to create an automated FBA prep order from the Jetpack dashboard:Navigate to New Order Creation
From the Jetpack dashboard, click Orders on the left-hand navigation bar, select All Orders, and click New Order on the right side.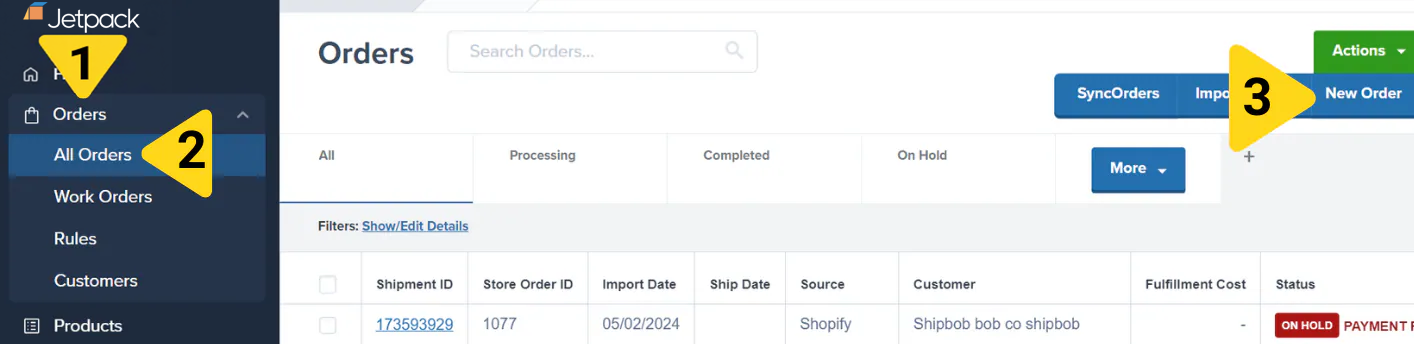
Select Amazon FBA as Destination
For Who are you shipping to?, select Amazon FBA, then click Next – Item Selection.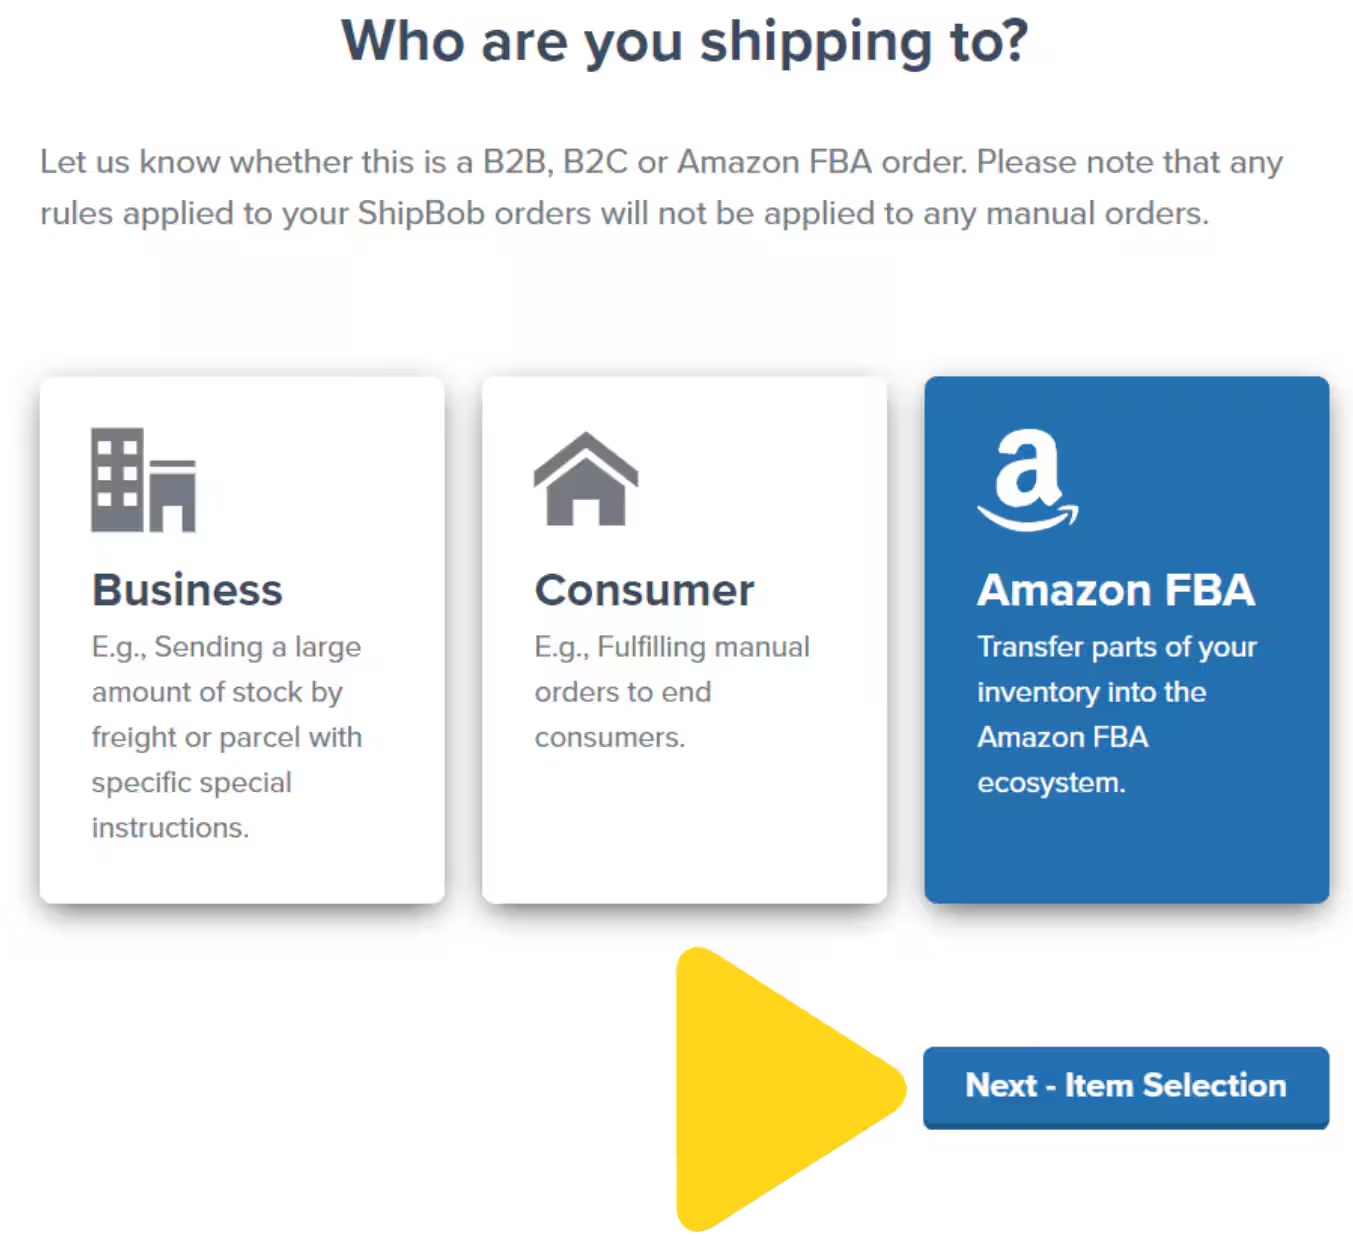
Configure Shipment Details
In the item selection screen: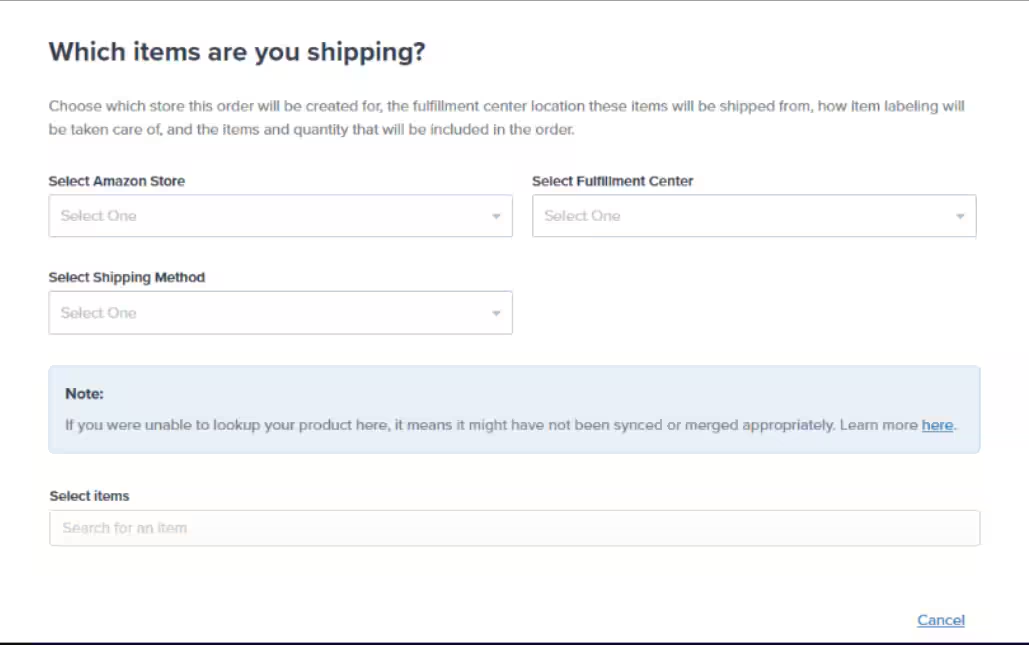
- Choose your Amazon store from the panel
- Select the fulfillment center from which the items will ship (your Jetpack fulfillment center, not Amazon’s)
- Choose the product(s) you want to ship
- Confirm the product and quantity for each item
Select Shipping Label Option
Choose from two available shipping options:
| Shipping Option | Description |
|---|---|
| Parcel-Jetpack | Purchase shipping labels from Jetpack (charges appear on your Jetpack invoice) |
| Parcel-Amazon Arranged | Jetpack purchases labels directly from your Amazon Seller Central account (charges reflected in your Seller Central account) |
These shipping label options are the only types available for automated FBA orders. Merchants cannot provide their own labels for FBA orders. If you require freight shipment coordination, use the FBA LTL workflow.
Tracking Your FBA Shipment
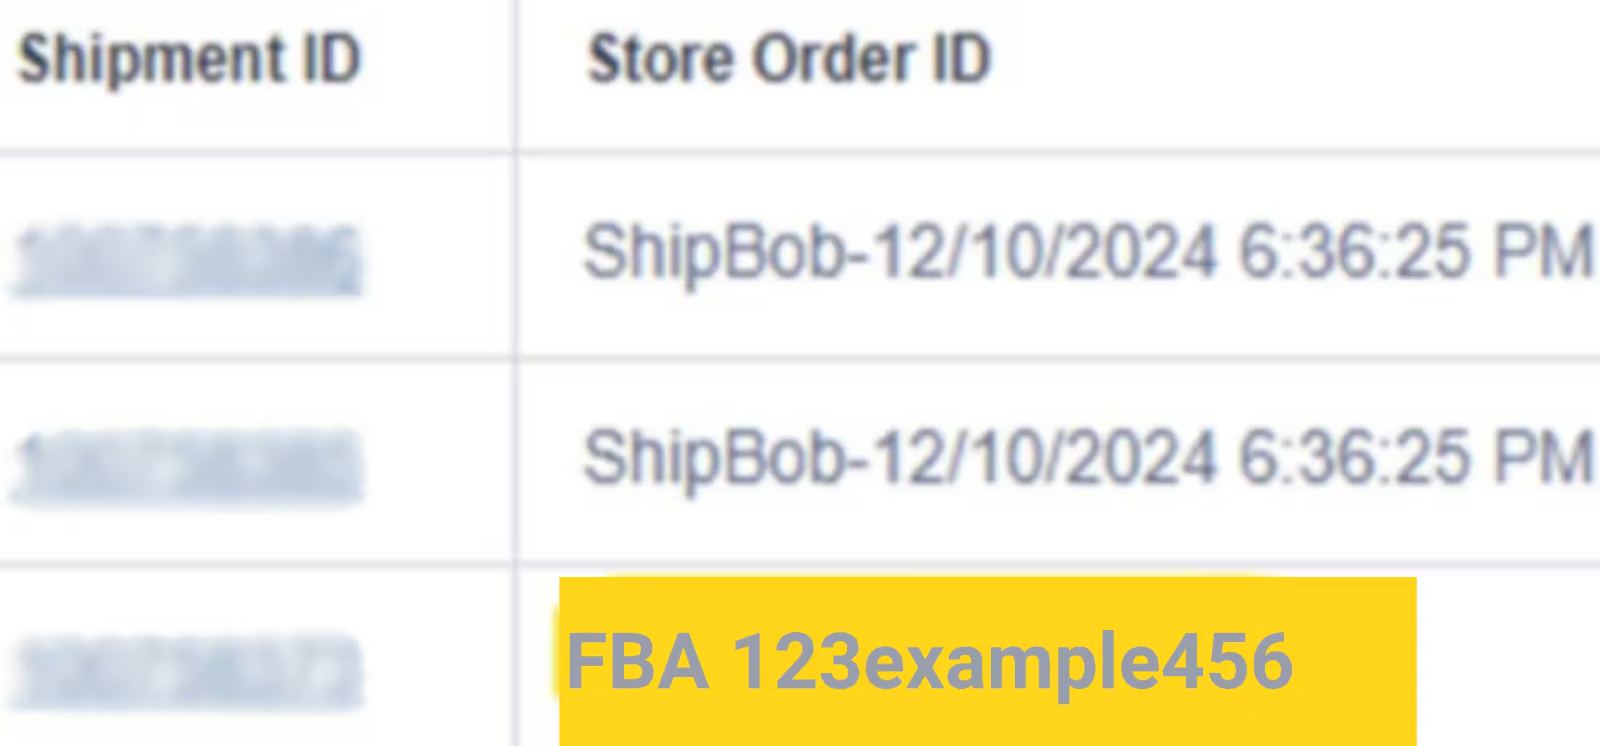
Store Order ID Transition
When you first create the automated FBA shipment, the Store Order ID displays as “Jetpack” followed by the creation date and time. Once Jetpack packs the order, this ID automatically updates to sync with Amazon Seller Central. Before packing: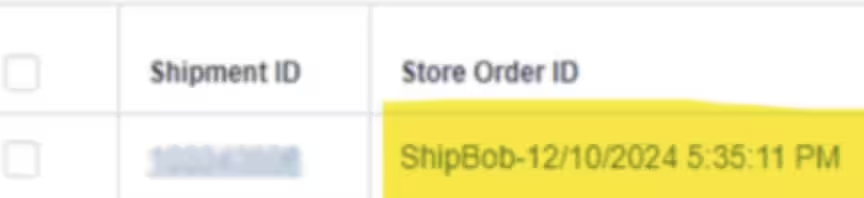
Viewing Order Details and Documentation
After packing, view comprehensive shipment information on the order details page.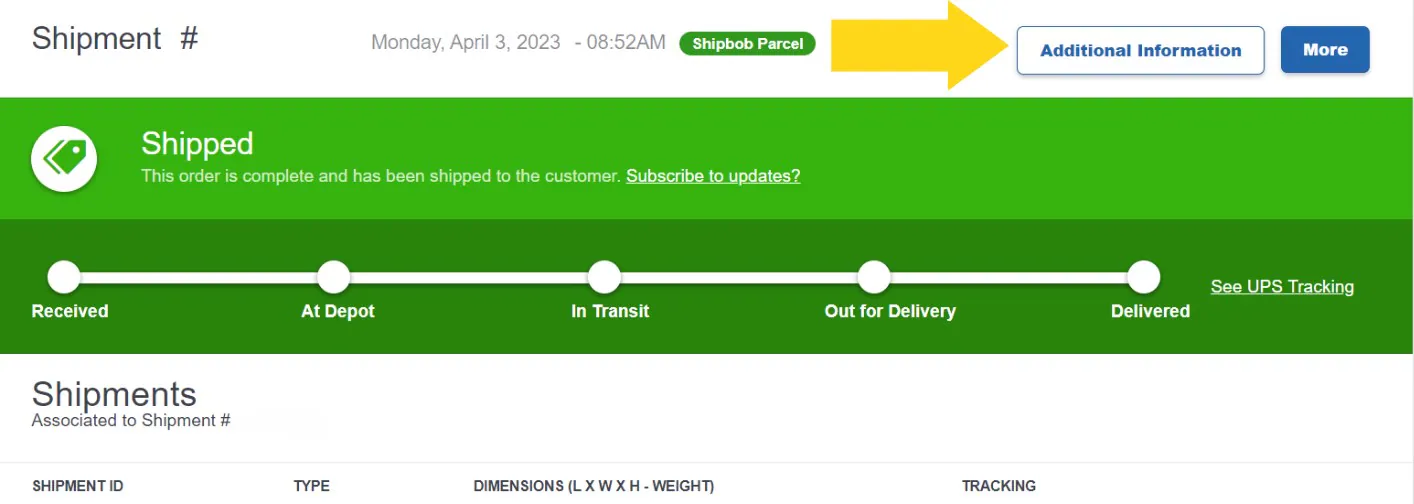
- Box labels (as attachments)
- Shipping labels (as attachments)
- Box and pallet dimensions (via Additional Information button)
- Package weight information (via Additional Information button)
Let’s Dive Deeper
B2B Fulfillment Overview
Explore all B2B fulfillment capabilities
FBA LTL Workflow
Coordinate freight shipments to Amazon
Manual FBA Prep
Submit manual FBA prep orders for international markets
Automated FBA Prep FAQs
Common questions about automated FBA prep
Troubleshooting FBA Errors
Resolve common FBA order issues
Creating Manual B2B Orders
Create other types of B2B orders

Questions? Contact Jetpack Care.
If you have questions about automated FBA shipments or encounter issues during order creation, contact Jetpack Care for assistance. Our team is here to help via Slack, phone, or email!