Barcodes improve inventory control and trackability throughout the fulfillment process, making order processing more efficient. By scanning barcodes during receiving and picking, Jetpack ensures products are quickly checked into fulfillment centers and that the correct items and quantities ship in every order.
Why Barcodes Matter
Barcodes play a critical role in maintaining accuracy across your fulfillment operations: Accurate Receiving: Products are quickly checked into fulfillment centers by scanning barcodes against your Warehouse Receiving Order (WRO), ensuring what arrives matches what was expected. Reduced Picking Errors: Scanning barcodes during picking and packing verifies that the correct quantities and items are being shipped, catching mistakes before orders go out the door.When Barcodes Get Removed or Adjusted
The Operations team may need to remove or adjust barcodes in certain situations to maintain inventory accuracy. This happens when there’s a mismatch between physical products and what’s recorded in the system. Common situations requiring barcode adjustments:- The barcode on the received product is illegible and can’t be scanned
- The scanned barcode doesn’t match what’s listed for that SKU in the Jetpack dashboard
- Products arrive without barcodes even though the SKU has one configured in the system
- Products have barcodes that aren’t recorded in the dashboard at all
Barcode Format Limitations
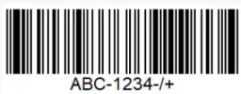
When setting up barcodes in your system, keep these technical requirements in mind: Special Characters: Barcodes cannot contain any special characters (like<, ., >, /, ?, +, etc.) or spaces. When scanned at the fulfillment center, special characters may appear differently based on the barcode’s format, causing scanning errors.
Single Line Format: Barcodes must be entered as a single continuous line without spaces between characters. For example, enter “12345678” instead of “1234 5678”. Avoid adding spaces at the beginning or end of the barcode, as this will cause it to split into multiple lines and fail scanning.
Accepted Barcode Types
Jetpack’s warehouse systems support a variety of standard barcode formats. Here’s what works at our fulfillment centers:| Example | Barcode Type | Description |
|---|---|---|
 | Code-11 | Used for item identification, primarily with electronics. |
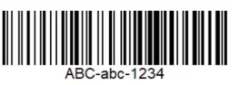
 | Code-39 | Used for product identification. |
 | Code-93 | Primarily used for tracking international shipping labels. |
 | Code-128 | Typically used on shipping cartons or for serial numbers. |
 | EAN-8 | Used for product identification. |
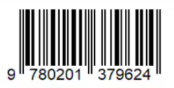 | EAN-13 | Used for product identification. |
 | EAN-14 | Used for carton identification to distinguish from the actual contents (UPC) inside the box. |
 | Interleaved 2 of 5 | Used for carton identification to distinguish from the actual contents (UPC) inside the box. |
 | SCC-14 | Used for carton identification to distinguish from the actual contents (UPC) inside the box. |
 | UPC-A | Used for product identification. |
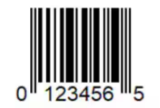 | UPC-E | Used for product identification. |
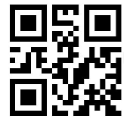 | QR Code | Used for product identification. |
Physically Applying Barcodes to Your Inventory
Before updating barcode information in your Jetpack dashboard, you need to physically attach clear and scannable barcodes to your products. This ensures warehouse teams can successfully scan items during receiving and fulfillment. Recommended Label Format: Use an Avery 5160 barcode template (also known as S-5042 Uline labels) when producing your barcode labels. If you don’t have barcodes yet, talk to your manufacturer, co-packer, or screen-printer. You can also use sites like Avery to purchase templates and labels from an office supply store.Adding Barcodes to SKUs in the Product Catalog
Once your physical products have barcode labels attached, you can add those barcode values to your product records in the Jetpack dashboard.Navigate to the Product Catalog
Click Products located on the left-hand navigation bar. You will be redirected to the Product Catalog page.
Locate your product
Scroll through your Active list or use the search bar to locate the product name or SKU needing a barcode update.
Open the product details page
Click on the product name (hyperlinked) under the Name column to open the product details page.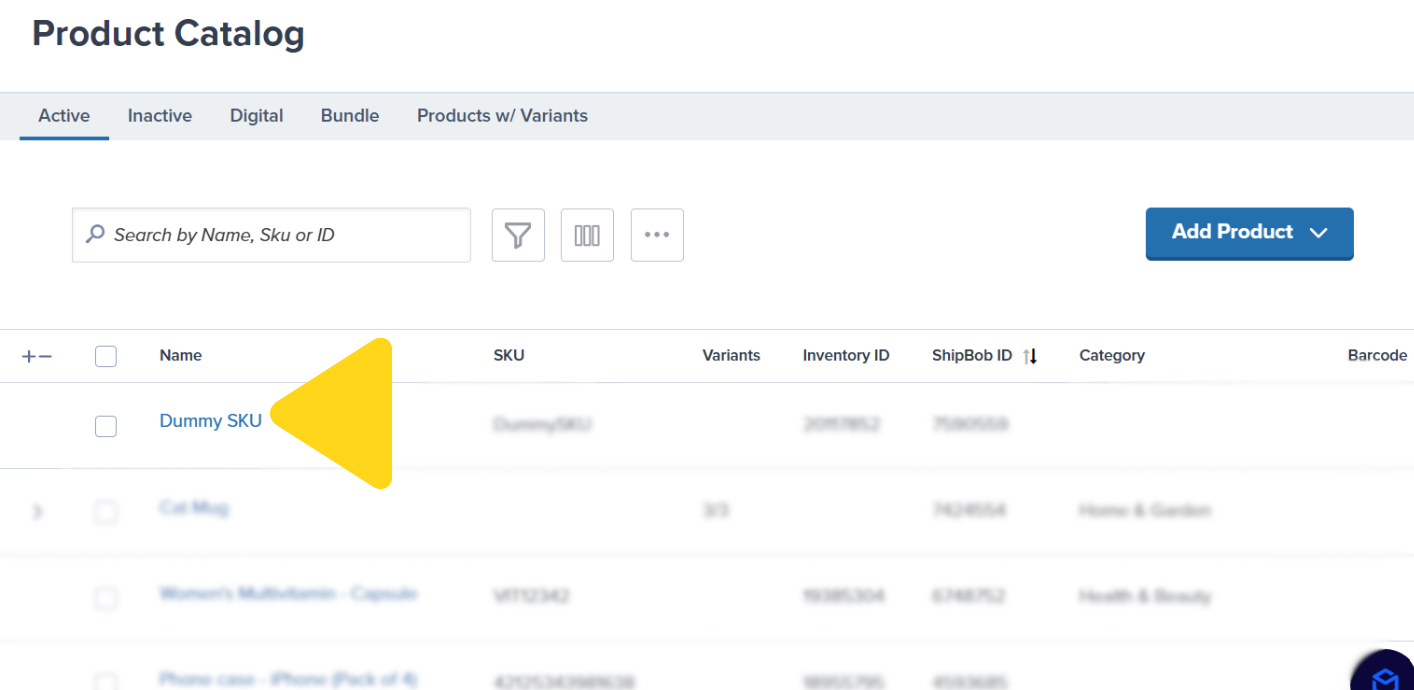
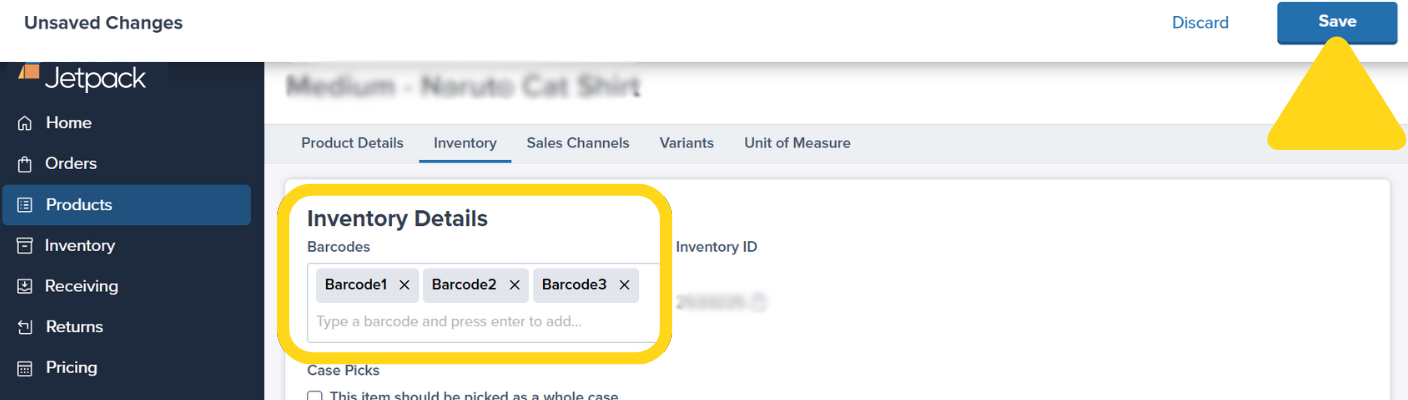
Enter your barcode values
Enter the barcode(s) in the textbox under Barcode. Press Return or Enter on your keyboard after inputting each barcode to add multiple barcodes.
Let’s Dive Deeper
Setting Product Preferences
Configure product details and barcode settings
Bulk Updating Products
Add barcodes to multiple products via Excel
Product Serial Numbers
Advanced product tracking with serial scans
Creating WROs
How barcodes work during receiving
Product Details Page
Configure product settings and tracking
Sending Parcels
Best practices for labeling inventory

Questions? Contact Jetpack Care.
If you have any questions or run into issues, you can always contact Jetpack Care for help. Our team is always here to assist via Slack, phone, or email!