Integrating Klaviyo with Jetpack enables you to push order status updates and fulfillment data—including pre-tracking information, tracking numbers, and recipient details—from Jetpack to your Klaviyo account. This one-way data sync powers personalized customer experiences across your marketing channels by leveraging real-time order information.

About ShipBob Integration References
During setup, you’ll authorize the “ShipBob” integration in Klaviyo. This is expected—Jetpack has licensed ShipBob’s integration infrastructure to provide reliable connections. Your data flows seamlessly to your Jetpack dashboard.
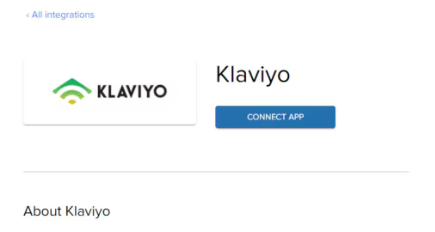
Klaviyo Integration Overview
The Klaviyo integration supports a one-way sync where you choose a Klaviyo list to receive recipient profiles and activity updates from Jetpack. All order information created within your specified sync period is imported and subsequently updated based on new or changed orders. This allows you to personalize customer experiences across marketing channels with up-to-date fulfillment status.Stock level information will also sync to Klaviyo to power inventory-based marketing messages like “Product A is back in stock.”
Connecting the Klaviyo Integration
Follow these steps to connect Klaviyo to your Jetpack dashboard:Navigate to Integrations > App Store
Click Integrations on the left-hand navigation bar, then select App Store from the menu options.
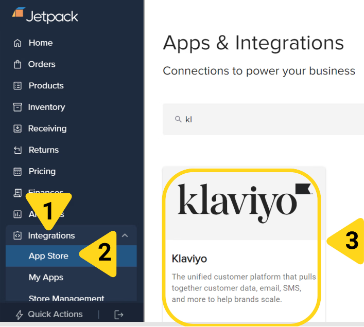
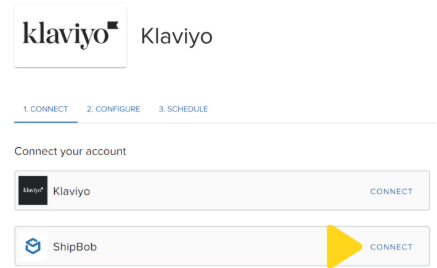
Click CONNECT next to Klaviyo
A pop-up window will appear showing both Klaviyo and ShipBob connection options.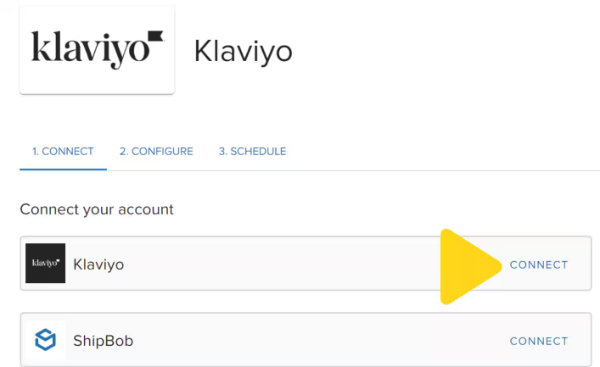
Input your Klaviyo credentials and click Login
Enter your Klaviyo email and password in the login form.
Click Continue on the security dialog
Klaviyo will display a security notice indicating the app has not been reviewed. Click Continue to proceed.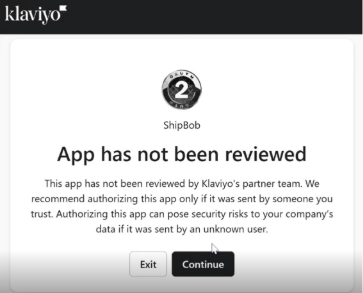
Select the Jetpack dashboard to connect with Klaviyo
Choose the account you want to install the integration to.
Review the permissions and click Allow
Klaviyo will display the permissions being granted: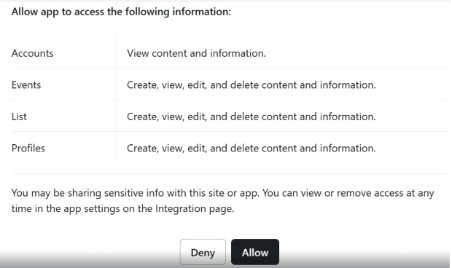
- Accounts: View content and information
- Events: Create, view, edit, and delete content
- List: Create, view, edit, and delete content
- Profiles: Create, view, edit, and delete content
Close the window and return to your Jetpack dashboard
You’ll receive a success message. Close the pop-up window.
Log in with your Jetpack credentials
A pop-up will appear prompting you to log in with your Jetpack dashboard credentials.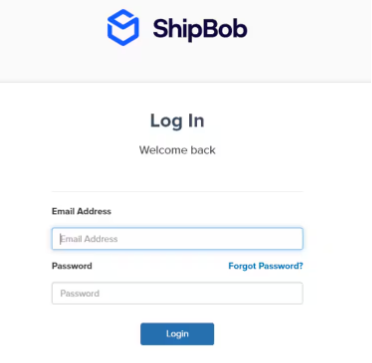
Provide a channel name and review permissions
Once logged in, provide a channel name (we recommend “Klaviyo”). Review the permissions being granted: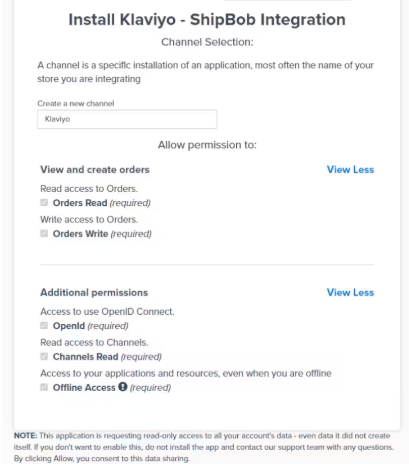
- View and create orders
- Read access to Orders
- Write access to Orders
- Access to use OpenID Connect
- Read access to Channels
- Offline access
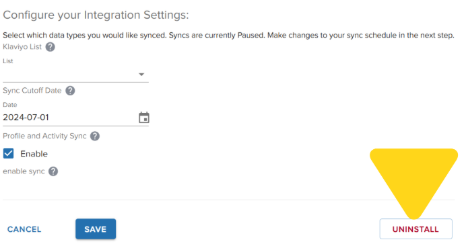
Configuring Klaviyo Integration Settings
After connecting both Klaviyo and ShipBob, configure your sync settings from the 2. CONFIGURE tab:
Select the Klaviyo list
Choose the Klaviyo list you want to share access with. This list will be used to push customer profile and activity data.
Choose a sync cutoff date
Specify the earliest date from which Jetpack should start syncing order information. The maximum look-back period is 60 days (e.g., selecting 1/1/22 will sync all orders from that date forward).
Scheduling the Sync
From the 3. SCHEDULE tab:Select the desired sync frequency
Choose from the options provided (e.g., Every 30 minutes, etc.). By default, the schedule will be configured to paused.
Uninstalling Klaviyo
If you need to disconnect your Klaviyo integration:Navigate to Integrations > My Apps
Click Integrations on the left-hand navigation bar, then select My Apps.
Locate Klaviyo and click the 3 vertical dots icon
On the My Apps page, find Klaviyo in your list of installed integrations.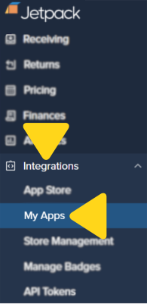

Let’s Dive Deeper
Other Integrations Overview
Back to the main integrations guide
Gorgias Support
Customer support integration
AfterShip Tracking
Shipment tracking integration
Integrations + Apps Overview
Learn about managing all your integrations
Order Management
View and manage your orders
Shipping Preferences
Configure shipping and fulfillment settings

Questions? Contact Jetpack Care.
If you have any questions or run into issues, you can always contact Jetpack Care for help. Our team is always here to assist via Slack, phone, or email!